Wednesday Project: Rocky Crater
Tools Needed:
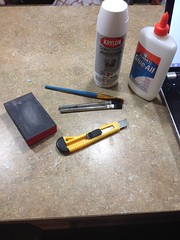
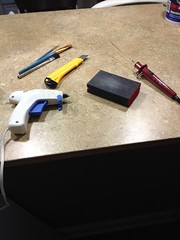
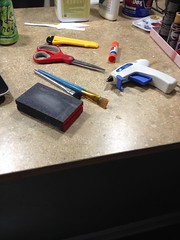
Utility Knife, Brushes, Spray Primer, Sanding Brick (or paper)
Materials Needed:
High Density Foam
Drydex
Fine Play Sand
Earth Tone Craft Paints
Cereal Card
PVA Glue
Step 1: Creating the Crater Base
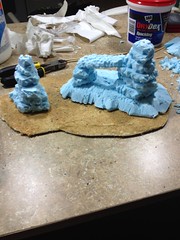
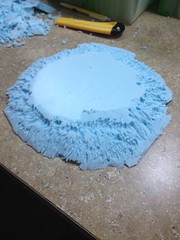
1 - I start the project by deciding on a size for the crater and cutting out a piece of blue foam. Since I am yet to replace my hot foam knife I used a utility knife to score the foam and then snapped it off by hand.
2 - I created the basic shape of the crater by cutting away the squared corners at an angle. I purposely angled the knife to create a beveled edge.
3 - I further refined the shape by cutting along the edges of the foam varying the angle of my blade and working in a semi circular manner around the piece.
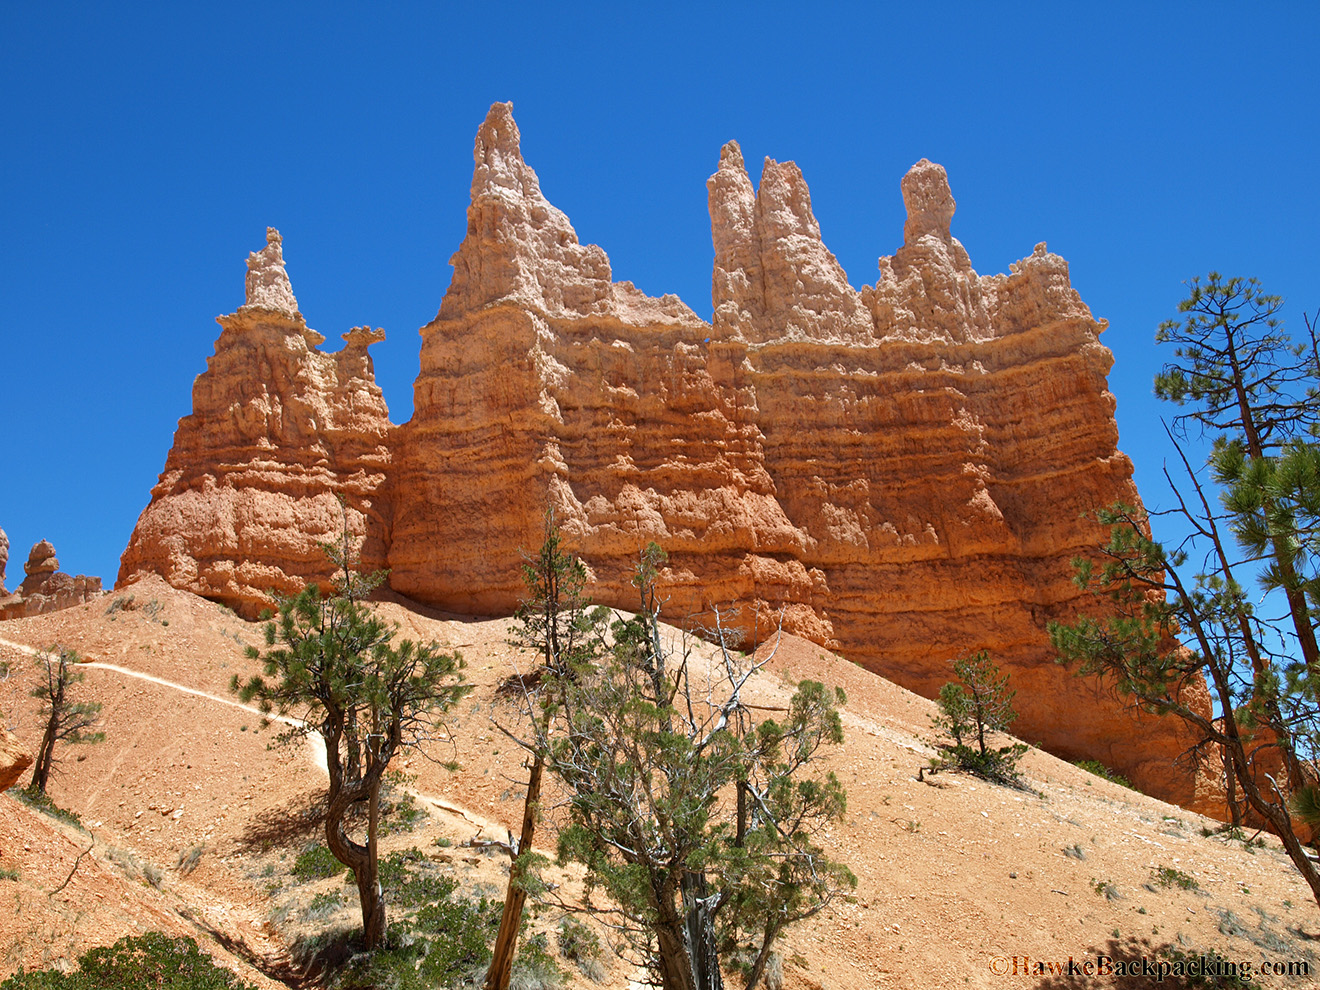
4 - When happy with the overall shaping I left with a plateau, I roughed up the edges using the same technique as used on the rock formations in Monday's project. I scraped against the edges of the foam with a straight hard edge such as the back of a knife, this created the random rocky texture to make a convincing desert rock formation.
5 - After the rocky texture was added I hit it with the sanding brick to remove fly aways and unnatural formations.
Step 2: Forming the Crater
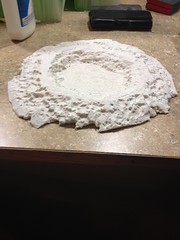
1 - Spray paint eats away at foam so to create the actual crater I simply sprayed black spray primer into the center of the foam plateau, I continued spraying until I reached the desired depth.
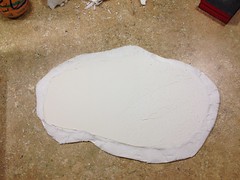
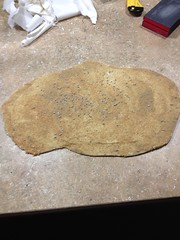
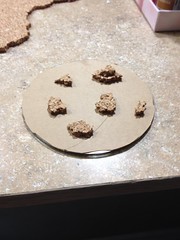
2 - Since I wanted models in to crater to be obscured enough to be in cover I decided to spray enough primer to basically eat completely through the piece. I tapped the model several times over the trash can and used the utility knife to drop/cut away the remaining molted foam. I decided to can provide a new bottom to the crater by gluing the piece to cereal card and cutting it to size. As long as the foam and the cereal card were the same size warping wouldn't be an issue.
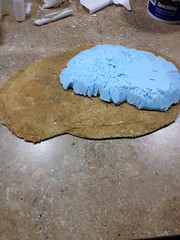
3 - I finished preparing the crater by gluing it to the cereal card base and covering it with a mix of drydex, sand, and a tiny bit of water. Since foam doesn't take paint well and primer melts it, drydex is the best way to get a paintable surface and it simultaneously adds to the rocky texture. It also adds a rocky and sandy texture to the flat cardboard bottom of the crater.
Step 3: Painting the crater
1 - I start by basing the entire model with burnt umber. I water the paint down to a milk like consistency and make sure to cover every bit of exposed drydex
2 - To shade the model I create a black wash 8 parts flow aid, 8 parts matte medium, and 1 part black paint. I apply this liberally ensuring the black flows into all of the cracks and crevices.
3 - I begin adding in color variation and highlighting by drybrushing with Burnt Sienna. I then layer up by dry brushing again with Burnt Orange and finally with Yellow Ochre. Each layer I use a lighter hand and focus on higher areas of the model. I also never clean the brush between layers thus ensuring that the colors blend nicely and highlight naturally.
Final Results:
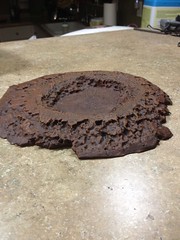
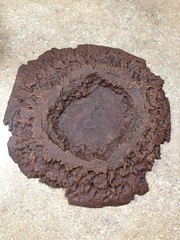
This is a simple project, taking only little more than an hour. Most of the time comes from waiting for glue or paint to dry, especially the black wash and the drydex. All drying times can be improved with a hair dryer.
Suggested Rules: Use as a crater as per the WH40k Core Rules
Taking this project further or other uses for these techniques: This project can easily become a water filled crater, a rubble filled crater, or even have some burning fire. See So you Wanna build terrains first post for burning flame and smoke. Creating a larger foam base and building up multiple layers, combined with certain water effects and the burning smoke effect and you can easily create an active volcano for your table or RPG set.
Last edited September 17, 2014 11:56 pm


